Final Project Update
This project has been concluded.
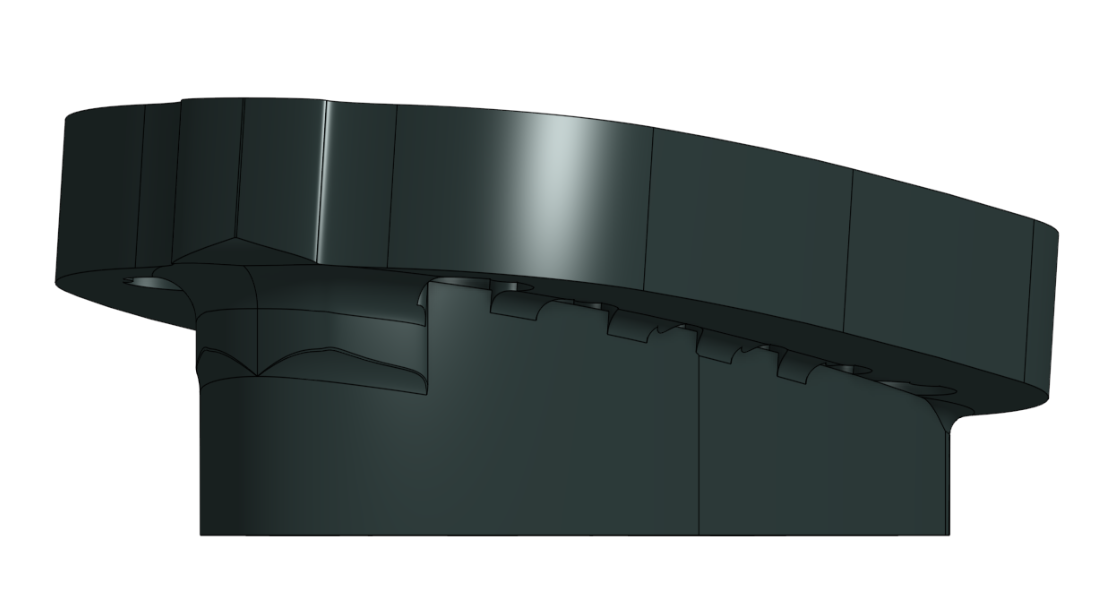
So after 2 years of working on this project I have decided to give up on it, and focus on other aspects. This may have just been a limitation of the machines I was using to print them, but I was never able to get a print to be strong enough to withstand the forces produced while riding easy, let alone racing. My final attempt was in December 2025, right before I went to 70.3 La Quinta, I had attempted to print the model in Figure 6 out of PEEK, as it supposedly has better layer adhision strength. It was seemingly better until I was attempting to do a course preview the day before the race when they broke, forcing me to completely change my bike position for race day. This is the third race and maybe the tenth ride I have had them break during so I was done. I decided to give up on this project until a future date.
I have many issues with the current systems used in the cycling industry and how there are basically no standards between companies about what types of set ups are used. This makes it difficult to replace parts on bikes without needing either completely custom parts, or Jerry rigging something, which might damage your bike. If you use a fully stock set up for your bike, this is not an issue, but for many Time Trial bikes the standard setup is optimized for comfort and the general public, and is not optimized for being as aero as possible. This has lead me and many others to look at third party systems for an improved cockpit set up on our bikes. Companies like AeroCoach and Vision have improved aero systems which many athletes use, myself included.
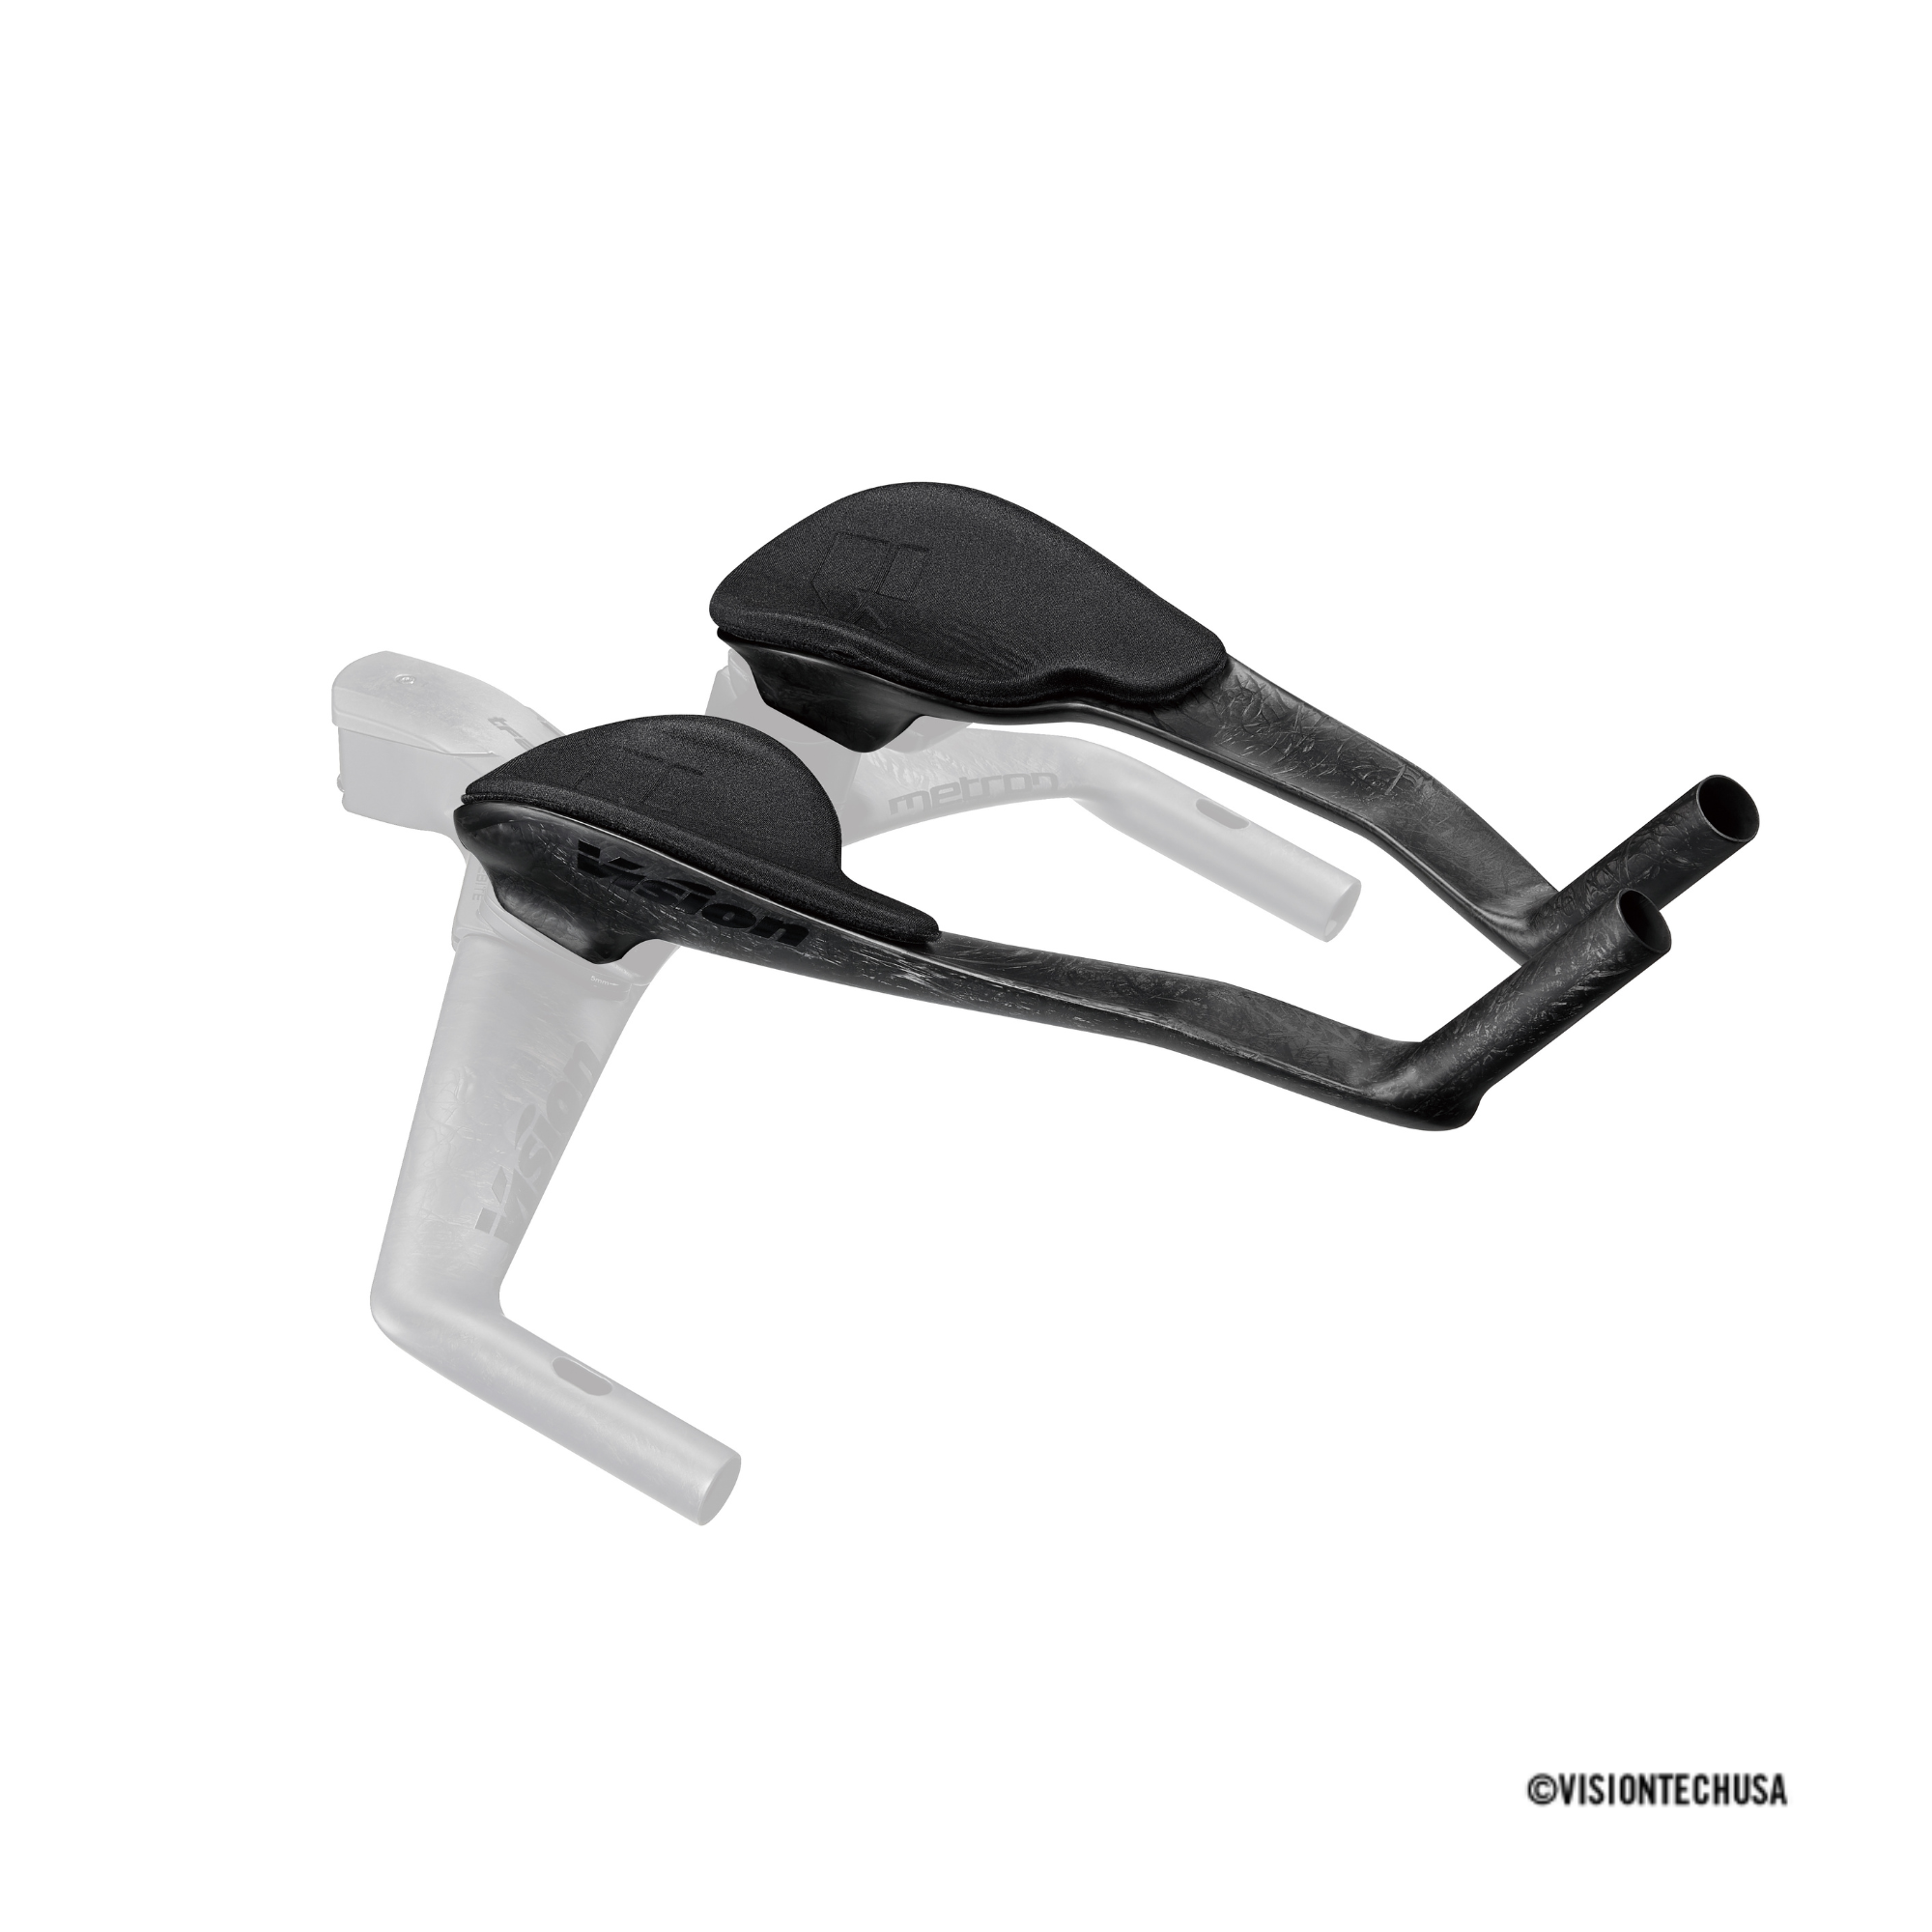
Personally I use the Metron TFE Pro Extensions (Figure 1) which I have found to be very comfortable and are just adjustable enough that I can fit them into a very aero position. The main downside is that there is not a standard mount for it between my Trek handlebars and the extensions.
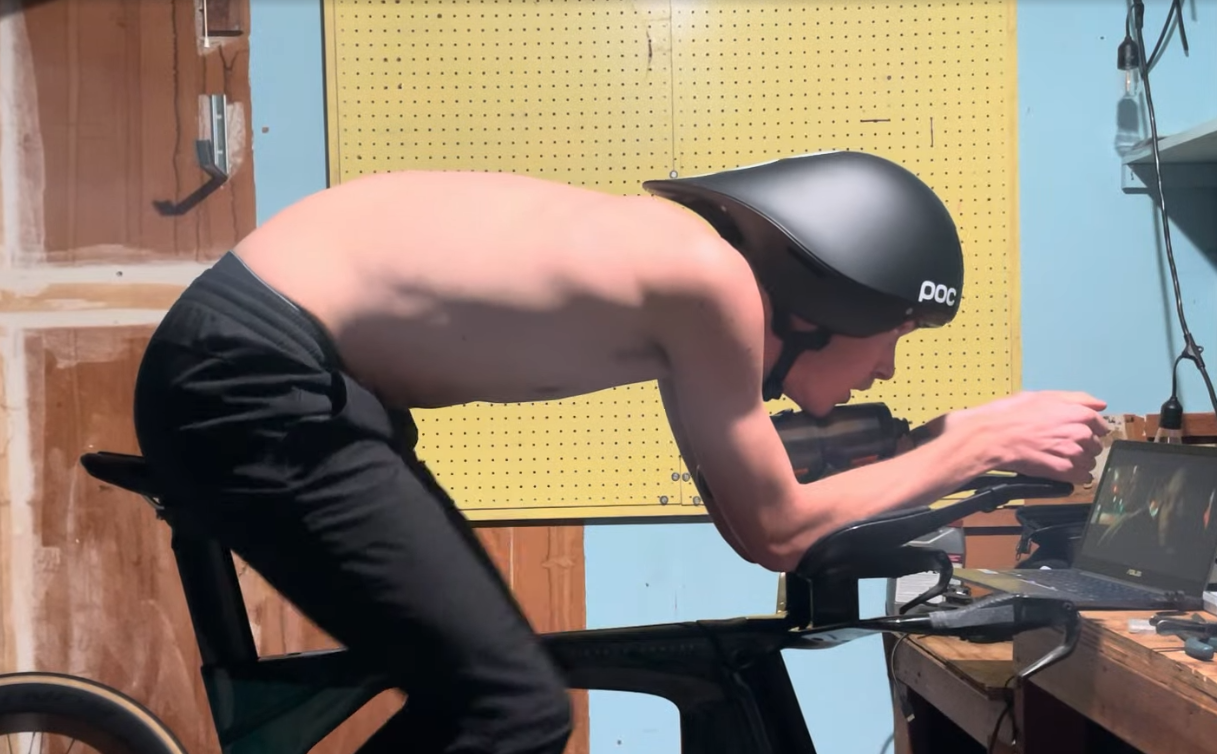
My first attempt, and the most basic method was to just mount the extensions directly to the handlebars, completely neglecting to use a riser. As shown in the figure on the right, it was a little sketchy; The bars were not stable, shifting around when pulled on. Additionally my positioning was far from optimal, I had to bend way to far over to get into position so wasn't able to stay in aero for a long time without my back hurting, as well as while I was tucked nicely, was not the most aero position I could get. Over a series of attempts I adapted the risers used for the standard Trek extensions into an interface I could use with the Metron Extensions. These were definitely improvements, and I was slowly able to improve my position.

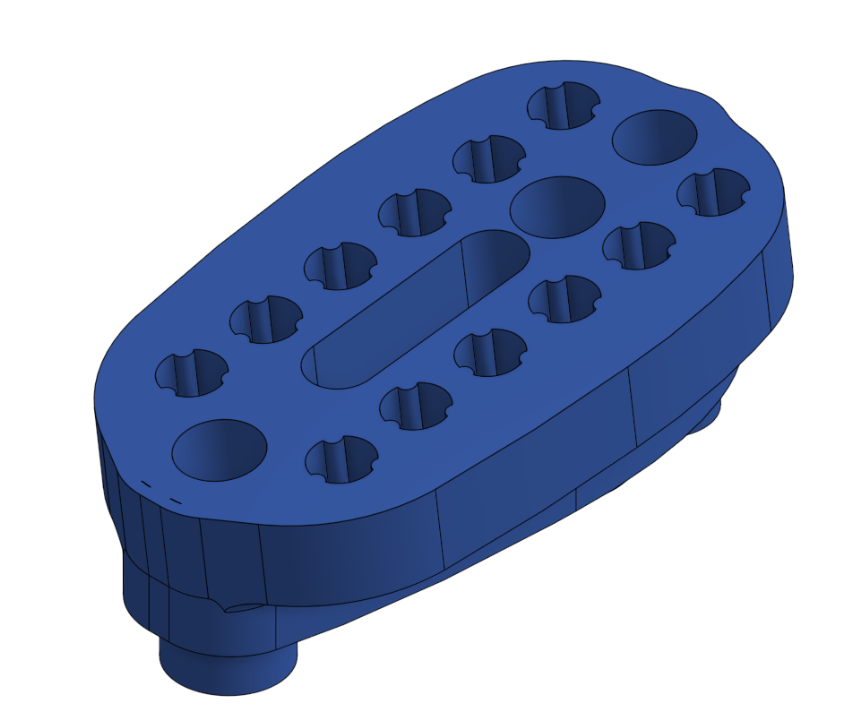
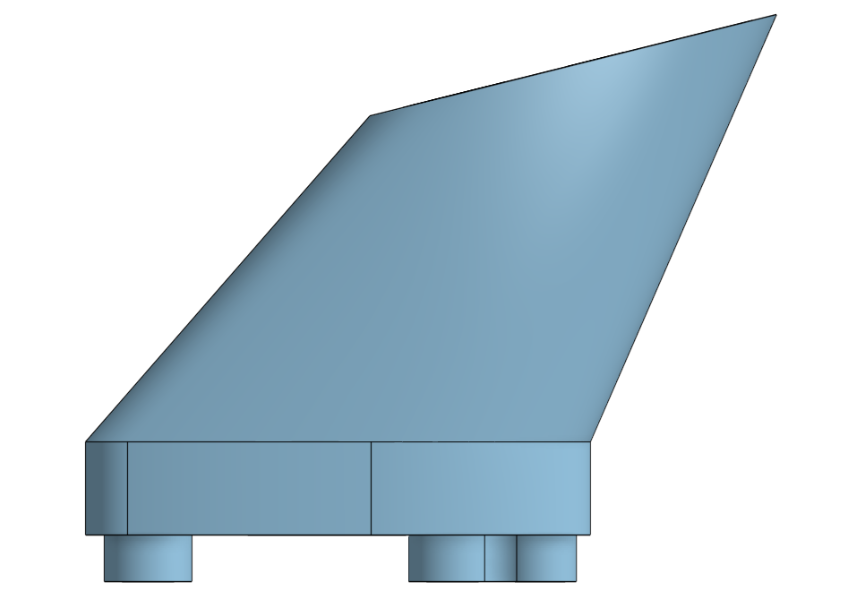
With my '24-'25 race season over I have had time to slow down and optimized my positioning and the durability of the risers in the new version, as well as look at different manufacturing methods for once I have position locked in. One comment I received from people more knowledgeable than I am about aero positioning was I needed to shift my elbows forward from my V3 position, while also increasing the angle, so my hands would be more in front of my face. This lead me to V4 (Figure 6) which has less positioning options than V2 or V3, but shifts the extensions forward by 1 cm and increases the angle by another 7 degrees. Compared to my other versions so far this has been a much more comfortable position, but has been a change that I am having to retrain my ability to stay in for the duration of a race.
Part of this project is integrating a BTA Bottle system, which will utalize the BTA Bottle Lid I am also working on. You can see in Figure 5, I have an early attempt at a bottle mounting system. That system still currently works with my design so I haven't changed it yet, but I believe it is not optimal yet and the bottle can be positioned better, along with adding another bottle to the setup will improve the set up.